How to Replace Ski Goggle Foam
If the foam is still good you can try to glue it back on with specialty glue [1] , but if the foam is falling apart you can replace it with the following procedure.
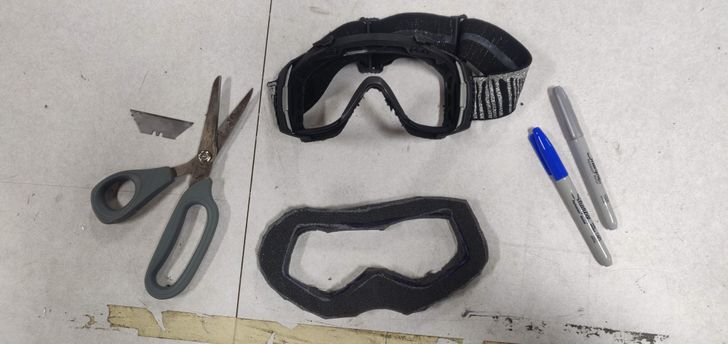
Tools
My Experience
I did this once and have used the goggles for 3 seasons (30-40 days).
- The foam I used or the adhesive that came on it gets a little hard when it is cold, so if its on your face its soft. If the goggles are cold when you put them on your face the foam will be hard for a few seconds till it warms up. I would like to try other foams ([4], [5], or EVA weather stripping).
- I used a thin soft cotton fabric on the foam. As expected, cotton was a bad choice, it chafes when its wet. A fleece would be better but careful with ironing it.
- The M3 90 glue is great, no issues.
- I really liked the adhesive that came on the foam because I think the M3 90 glue would have soaked the fabric and made it hard.
- The fabric is starting to come off of the foam. Next time I will use specialty glue ([1] or shoe-goo) and fleece may help.
- LET ME KNOW YOUR EXPERIENCE
Steps
Step 1) Remove lens from goggles. Taking the lenses out is different for each model of goggle, some have latches, others require the frame to be bent away from the lens. Follow the manual for the specific goggle model or search the web for a tutorial.
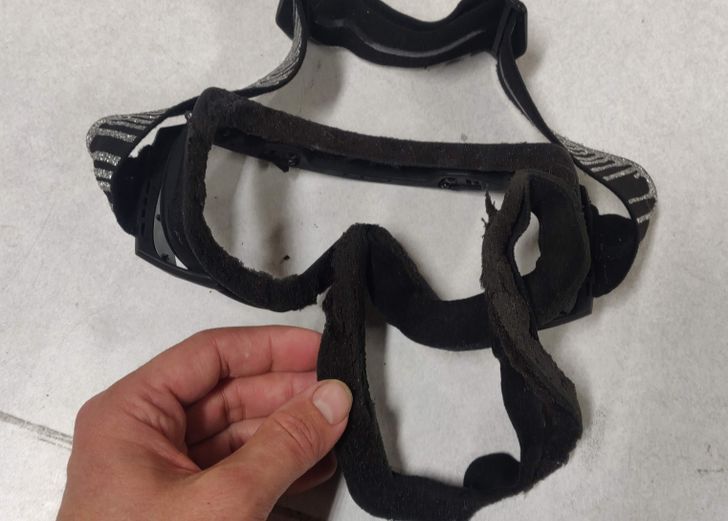
Step 2) Remove damaged foam from goggles. Pull at the foam and remove the large chunks by hand.
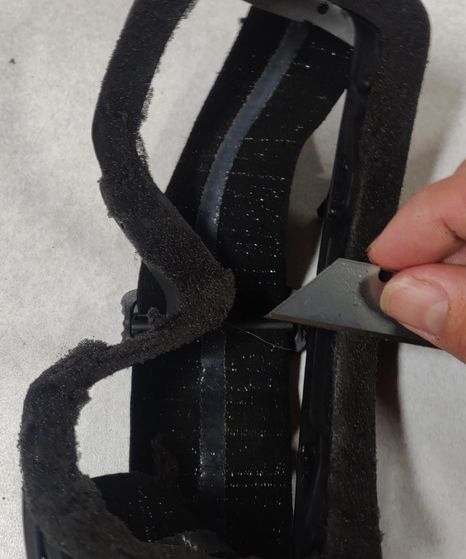
Step 3) Scrape a razor across the surface that the foam was bonded to, to remove most of the foam. Pull the razor backwards across the foam. Do NOT push the blade in a cutting motion, as this will be difficult and may cut into and damage the frame. Leaving a little fuzzy foam is actually good as it will give the glue something to grab on to.
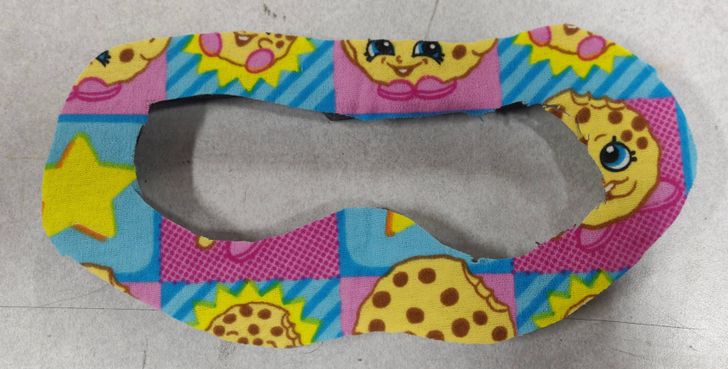
Step 4) Cut an extra large piece of foam, flex it against the goggles, slowly cut more and more foam away until there is roughly a 1/4" of extra foam on every side. The nose section is where the foam is most deformed so be sure to hold the nose section against the area it will be bonded to. Notice how the foam when its flat looks quite a bit different the goggles. Make small cuts and test fit the foam to the goggles often.
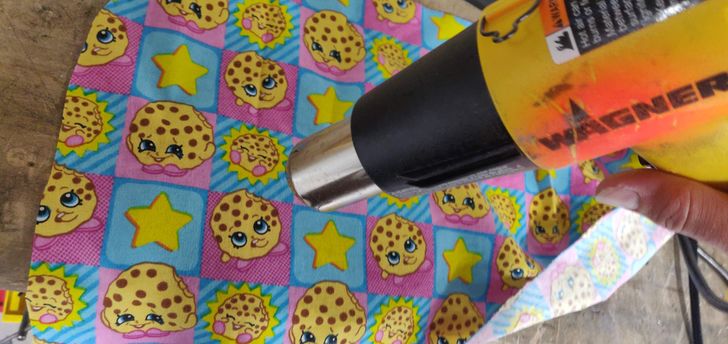
Step 5) Remove the adhesive back to the foam. Lay fabric on adhesive. Run heat gun/hair dryer across the fabric to warm it a little. Push down on the foam/fabric while its warm for better adhesion to the foam. Let it cool.
Step 6) Cut away the excess fabric. Trim the fabric to match the foam for better visibility when bonding the foam to the frame.
Step 7) Starting at the nose, make a practice run of fitting the foam to the goggles before gluing. Practicing now before the glue is involved will make the next step go more smoothly.
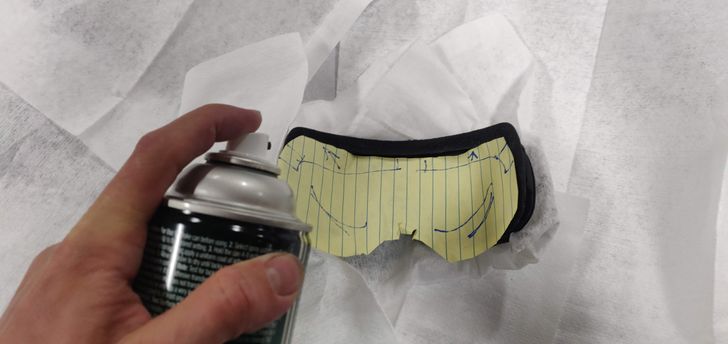
Step 8) Cover any part of the goggles that don't need glue with paper towel. Spray glue onto the goggles. Spray glue onto the foam. Let the glue sit for ~15 seconds.
Step 9) Starting at the nose, attach the foam to the goggles. The foam can be moved by peeling it up and placing it in the correct location.
Step 10) Hold the glue for 1 minute while it begins to cure. Give the glue a few hours to dry.
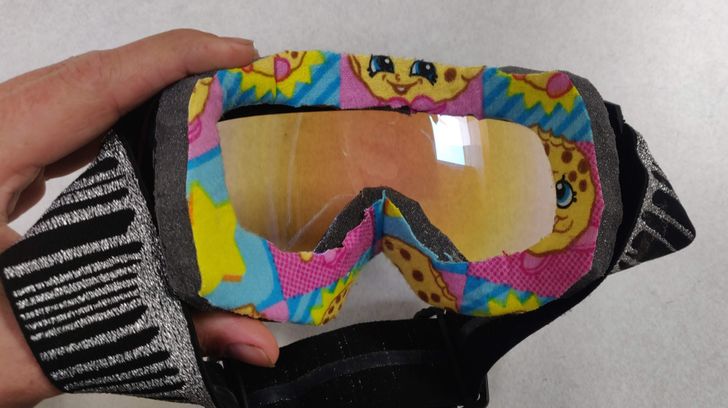
Step 11) Cut the extra foam and fabric away and install the lens. It may not look as professional as when it was new but it has its own unique style.